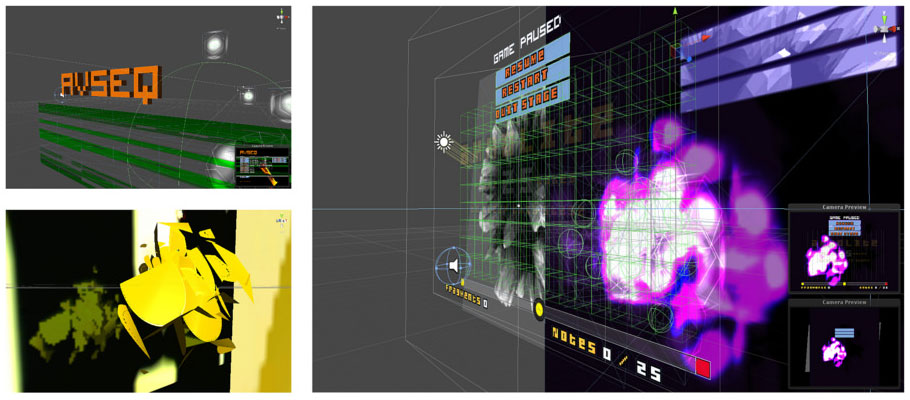
This post outlines some of the technical issues and solutions connected with the development of AvSeq, the first game produced for my PhD research. More generalised information about the game is available here
Accurate high frequency audio timing and quantization in Unity
During the development of AvSeq I needed to find a way to get a high accuracy audiotimer to trigger audiovisual events in perfect synchronization. Unity is primarily a games engine and had not built-in functionality to support this type of requirement. IN libraries like portaudio the code provides a callback function that can deliver buffered content to the soundcard, down to the level of a single sample. In Unity the update threads run at a much slower rate and cant be used for reliable timing. Unity also discourages the use of threads and out-of-update callbacks so I had to find another way. The solution I came up with was to leverage the built in functions of the packaged FMOD library. I particular this library provides functions to
grab the current playpoint of a sample and also trigger a sample with a specific pre-roll delay.
I used these features in the following steps.
1) Setup and play a hardware looping metronome via FMOD. This can be a standard clicktrack sample or even a silent audiofile. The length and playback pitch of the file represents a single audio-beat cycle that can be tracked in code.
2) Run a FixedUpdate (or any fast thread) and within this request the the current PCM sample position of the metronome.
3) Use this position to detect if the current loop of the metronome sample is nearing its end. The margin of error for this ‘catching’ process detect depends on the frequency of your update and the pitch/frequency of the metronome.
4) If the retrieved PCM location is close enough to the next loop point then trigger a new sound to play BUT set the new sample pre-roll to the remaining samples in the current loop (loop sample length- current sample position).
5) Don’t create or run any further triggers until the retrieved position has looped back over the zero-point.
This system allows accuracy up until a relatively high tempo rate (dependent on individual machine speed), and allows the sample accurate triggering and quantizing of triggered audiosources. The tempo of the entire system can be adjusted by varying the playback pitch of the reference metronome, for example a metronome sample of 1 second length, will define a bpm of 60. At double the metronome pitch the bpm will be 120. The ‘catch’ margin can be adjusted dynamically as a percentage of this overall length if you want real-time pitch changes like I use in AvSeq. In AvSeq I also use the looping reference sample to keep track of beats/bars in the total sequence and each new beat trigger the playback of samples assigned to that beat in the sequencer score.
Some example code:
	void FixedUpdate () {

		m_MS=m_ASMetronome.timeSamples;//get the current position of the looping reference sample
		uint catchup=0;
		float delay=0;

		if(m_MS<m_CatchMargin && m_HasLooped==1)//check to see if the reference sample has looped and has been dealt with
		{
			m_HasLooped=0;//reset the haslooped indicator
		}

		//catch end of loop
		if(m_MS>m_SampleLength-m_CatchMargin)
		{
			m_MSCatch=m_MS;

			//only do if we havent marked a new loop yet
			if(m_HasLooped==0)
			{
			catchup=(uint)(m_SampleLength-m_MS);	//work out how long to delay the start of any new sample
			m_HasLooped=1;	//register that we have dealt with the current loop
			m_AudioSource.Play(catchup);//play a sample with the correct delay to coincide with the actual loop point
			}
		}
              }
As simple example of this is demonstrated in the webplayer linked below.
http://www.nullpointer.co.uk/unity/DrumMachine/WebPlayer.html
There’s a bit more discussion and some extensions of the technique discussed at http://forum.unity3d.com/threads/audio-stepsequencer-and-they-said-it-couldnt-be-done.78003/ Another webplayer here shows a simple game prototype I developed using the same technique to synchronise audio and visual events.
Video Feedback effect in Unity
I wanted AvSeq to feature some form of video feedback, discovered in camera/tv loop experiments of the 1980s. You can see the effect in this video https://www.youtube.com/watch?v=eD9rr0gTLSU (although its a recent video, the actual technique is the same). To achieve this I mimicked the feedback loop by rendering a subset of the games geometry to an offscreen surface and then drawing that image in the background of the scene. This meant that each frame of gameplay also had a degree of the previous frame set behind the current objects. By altering the transparency of the previous frame image the system can control the amount of feedback and blur that occurs. The scene setup for this process is show below.
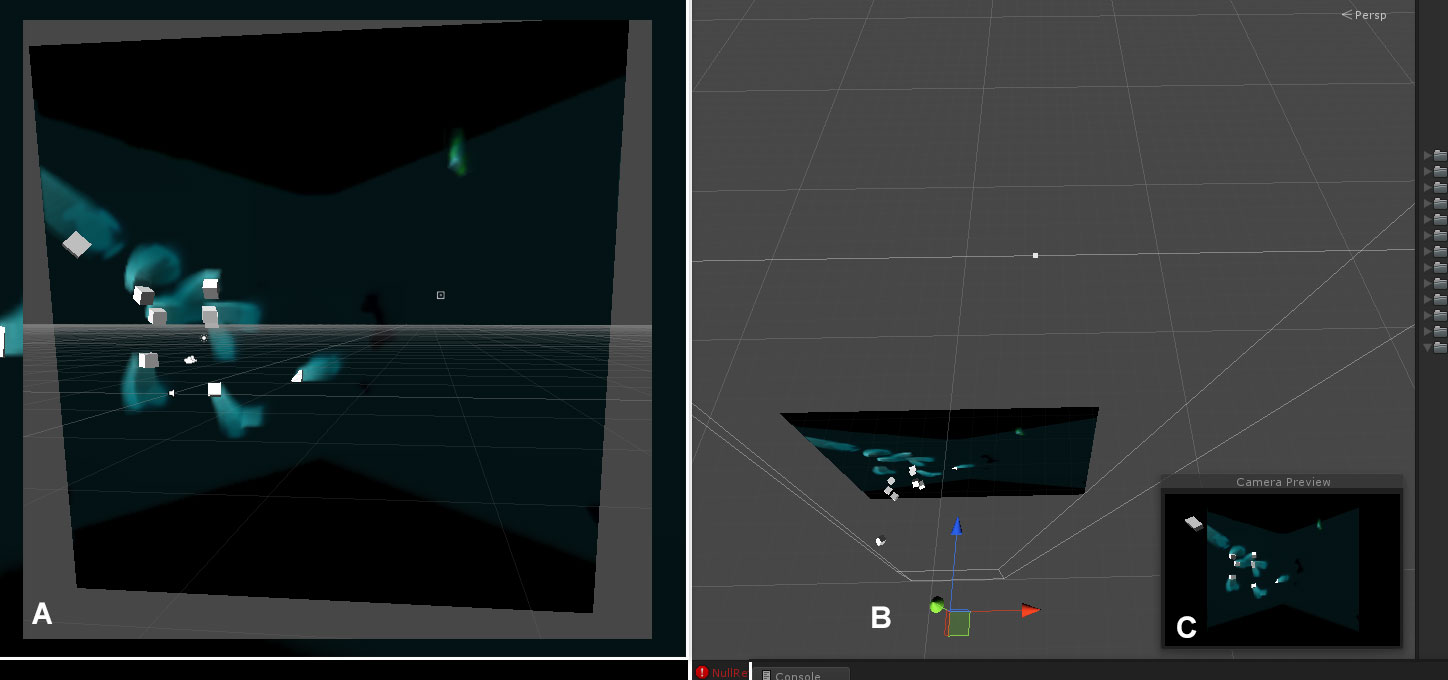
A: Shows the scene from a point close to the player perspective, but with the camera pulled back slightly to show the edges of the background screen. The image shows the foreground cubes and their after-images on the background screen (one cube is even passing through the background screen)
B: Shows the positioning of the background screen and the ‘invisible’ offscreen rendering camera. The cubes can easily be seen in front of the screen, within the normal playspace of the game.
C: shows the image viewed from the offscreen rendering camera. This image is then drawn onto the background screen during the next frame.
Some compensation has to be made to account for offscreen texture surfaces being square and the scene view being landscape, but these are trivial ratio adjustments. In AvSeq I used additive blending on the background screen, in order to control the persistence of each frame and its feedback, but other blending methods can be used to generate more radical effects. Similarly the polygon mesh of the background plane can be warped to force the feedback to flow in a specific direction. Although I avoided extreme warping in the final game version, some of the prototypes demonstrate the effect more clearly.
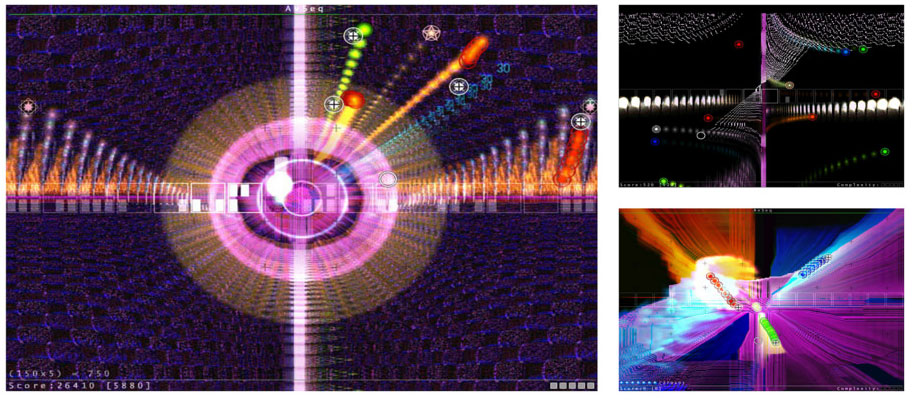
Obviously the effect is best observed in motion.
The video above shows the feedback working with different levels of persistence, it also shows some additional layering effects that are introduced between the background screen and the camera depending on the progress of the music. It is important to note that the whole process requires a secondary render camera. This is because if the system uses the primary camera for the feedback render then the resulting image will involve feedback of every visible element. By using a secondary camera specifically for the feedback image the game objects can be separated into layer-masks that appear in the feedback layer, the game layer or both.